

You’ll interact with your agent through chat, just like texting a helpful assistant.
Before you start
You’ll need:- A LangSmith account (sign up here).
- A Gmail account.
- A Google calendar.
- An OpenAI or Anthropic API key (Step 1 will show you how to get one).
1. Get your model API key
Your agent needs an API key to connect to an AI model. The AI model is what allows your agent to understand and respond to your requests.- OpenAI (ChatGPT)
- Anthropic (Claude)
- Go to platform.openai.com/api-keys.
- Click Create new secret key.
- Give it a name like “Fleet”.
- Copy the key (it starts with
sk-). - Save it somewhere safe, you’ll need it in Step 2.
2. Add your API key to LangSmith
Now you’ll add your API key to LangSmith so your agents can use it:1
Open Settings
- Go to smith.langchain.com.
- Click the Settings icon in the bottom left.
2
Go to Secrets
Click the Secrets tab at the top.
3
Add your key
- Click Add secret.
- For Key, enter:
OPENAI_API_KEY(if using OpenAI)ANTHROPIC_API_KEY(if using Anthropic)
- For Value, paste the API key you copied in Step 1.
- Click Save secret.
Your agent now has access to an AI model to understand and respond to your requests. Next, you’ll create your agent.
3. Create your agent
1
Navigate to Fleet
- In the LangSmith UI, click Switch to Fleet at the top of the left-hand navigation.
2
Choose a template
- Select Templates in the left-hand navigation, or click + in My Agents and select From template.
- Select the Executive Assistant template to create your agent.
3
Authorize accounts
Your agent will ask you to connect your Google accounts:
- Click Connect.
- Sign in with your Google account.
- Review permissions and click Allow.
- You’ll be redirected back to LangSmith where your agent will be created.
Your agent only accesses your accounts when working on tasks you give it. You can revoke access anytime in your Google account settings.
4. View the agent template
1
View and customize the template
At this point, you can review the template instructions for the Executive Assistant. If needed, you can make adjustments to the instructions.If you made any changes, click Save changes.
2
Start a test chat
In the agent chat, try out the Executive Assistant, for example:
Apply a “Review” label to emails that I receive, which require some kind of review from me
3
Agent starts working
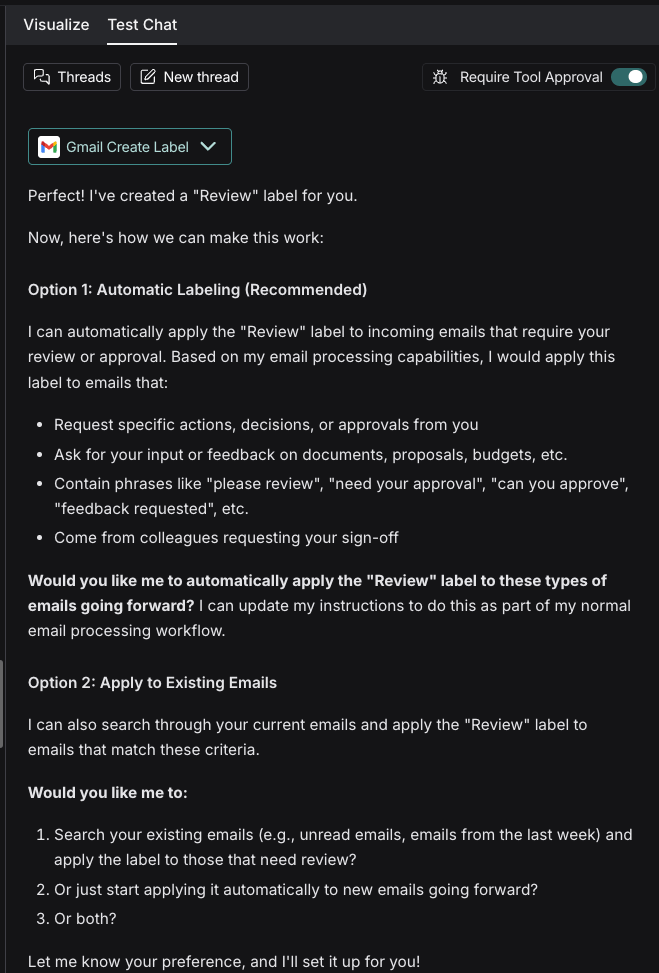
Your agent will start work and provide a Continue option for each step that requires your approval.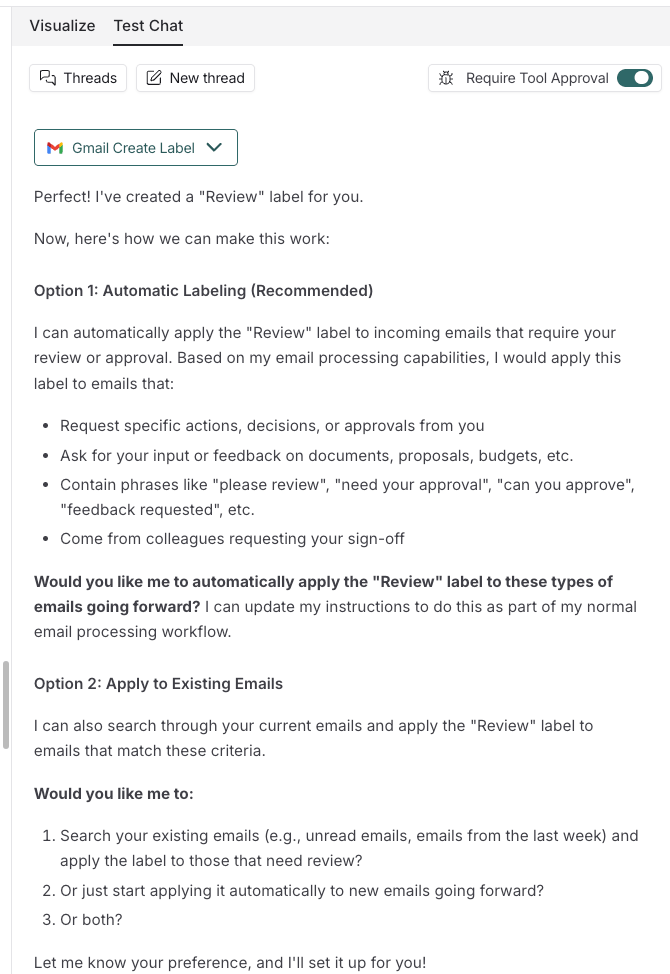
Edit your agent
You may want to update your agent’s instructions or include more tools. You can chat with your agent directly to ask for updates, or configure it from the agent sidebar:- Add integrations and tools in the Connections drawer, and set each tool to run automatically or ask for approval. See Tools.
- Connect Slack, Gmail, or Microsoft Teams in the Channels drawer.
- Run your agent on a schedule in the Schedule drawer.
- Change the model in the Advanced settings drawer.
Next steps
Now that you’ve created your first agent, here’s what to explore:Try more templates
Explore prebuilt agents for common tasks
Add automation
Run your agent automatically with channels (Slack, email, schedules)
Connect more tools
Add Slack, GitHub, Linear, and more
Build complex agents
Use sub-agents to break down big tasks
Connect these docs to Claude, VSCode, and more via MCP for real-time answers.